Building the Documentation
Rxn Rover documentation is generated using a combination of two documentation generators:
The Sphinx Documentation Generator for general documentation, and
The AntiDoc Toolkit for LabVIEW, specifically the CLI for Antidoc tool, for code documentation.
Prerequisites
Windows 10 (for AntiDoc)
Python 3.x (link)
LabVIEW (to run AntiDoc)
VIPM (for installing AntiDoc)
Installing AntiDoc Toolchain
Installing AntiDoc and AntiDoc CLI is fairly easy using the VI Package Manager (VIPM). Open VIPM, search for “antidoc”, and install the AntiDoc and Antidoc CLI packages that appear, ensuring the “Publisher” field is “Wovalab”.
Once the AntiDoc packages are installed, Asciidoctor needs to be installed to render the final product as HTML. Follow the instructions provided the AntiDoc authors here to install Asciidoctor, Asciidoctor Diagram, and Graphviz. The final three sections about generating a PDF are not necessary.
Links:
Installing Sphinx
Automatically
Sphinx will be installed automatically when build_docs.bat is run. The
script will create a virtual environment (venv) in the documentation
directory, install the required packages in the venv, and use the venv
every time build_docs.bat is run.
Manually
If something goes wrong with the automatic installation, or you want to install Sphinx manually for other reasons, follow these steps:
Create and activate a virtual environment (
venv).python -m venv venv .\venv\Scripts\activate
Install Sphinx packages (make sure the
venvis active!).pip install -r requirements
Deactivate the
venv(build_docs.batwill activate it when run).deactivate
Building the Documentation
Run build_docs.bat by double-clicking or executing it in a terminal. The
documentation will exist inside the documentation/build/html/ directory,
and can be viewed by opening documentation/build/html/index.html in a
web browser.
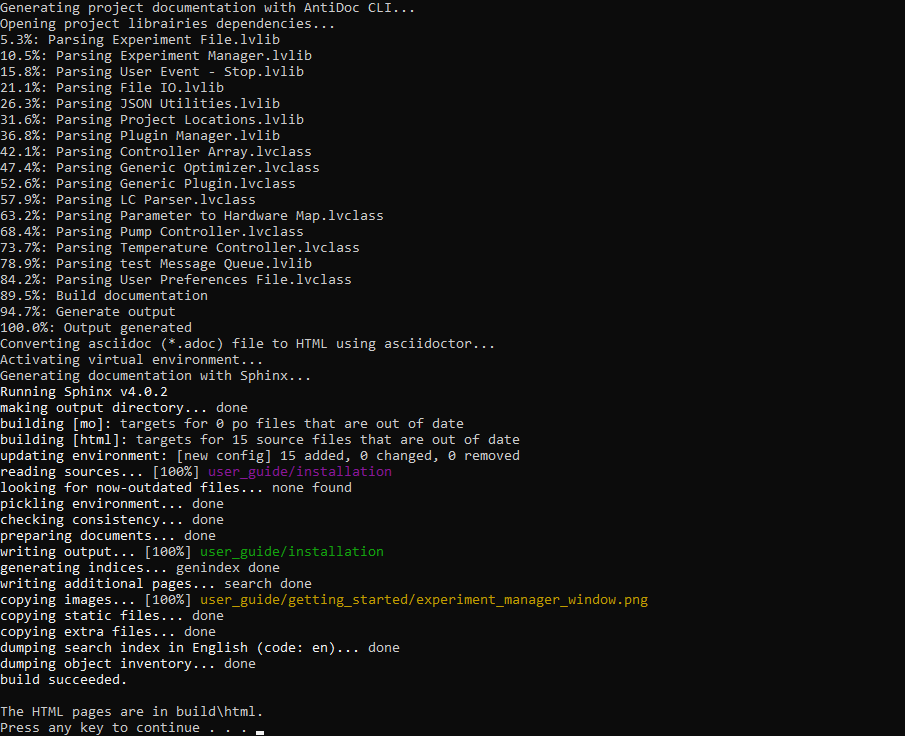
Example build output from a typical documentation build.
GitHub CI
Refer to the AntiDoc GitHub CI Guide.