Mock Experiment
Warning
This example experiment has only been tested on Windows 10 with LabVIEW 2020 SP1.
Warning
Before attempting this tutorial, make sure you have read and performed the necessary steps in the Installation and Getting Started sections.
This is a mock experiment that can be run without using any hardware-specific plugins by using mock instrumentation. It is quite a long tutorial document, so utilize the outline to the left for easier navigation between sections!
This tutorial will walk you through a basic optimization setup with Rxn Rover with the following steps:
Downloading the Plugins
This tutorial uses four “mock” plugins from the Rxn Rover Plugin Catalog: a mock analyzer, a mock pump, and a mock temperature controller. It also uses the plugin which connects SQSnobFit into Rxn Rover.
In a web browser, navigate to the Rxn Rover Plugin Catalog (open it in a new tab). There you will see sections for “First-Party Plugins” and “Third-Party Plugins”; we will be retrieving first-party plugins for this tutorial, which are created by the Rxn Rover team.
The First-Party Plugins section is divided into “Plugin Classes” to help you find plugins which fulfill each role in the Rxn Rover workflow: Analyzers, Optimizers, and Reactor Components.
Mock LC Analyzer
The mock analyzer plugin we will be using generates random data as if it were
being generated and parsed from a liquid chromatograph (LC). The catalog entry
for this plugin can be found under First-Party Plugins > Plugin Classes >
Analyzers > Liquid Chromatography > Mock LC Parser, where there will be
acquisition instructions and a brief description of the plugin. Follow the link given in
the Plugin Catalog listing to the GitHub release section for the Mock LC Parser and then download the
plugin by clicking rxnrover_lib_mock_lc_parser-X.X.X.X.vip located under the “Assets”
section at the bottom of the page.
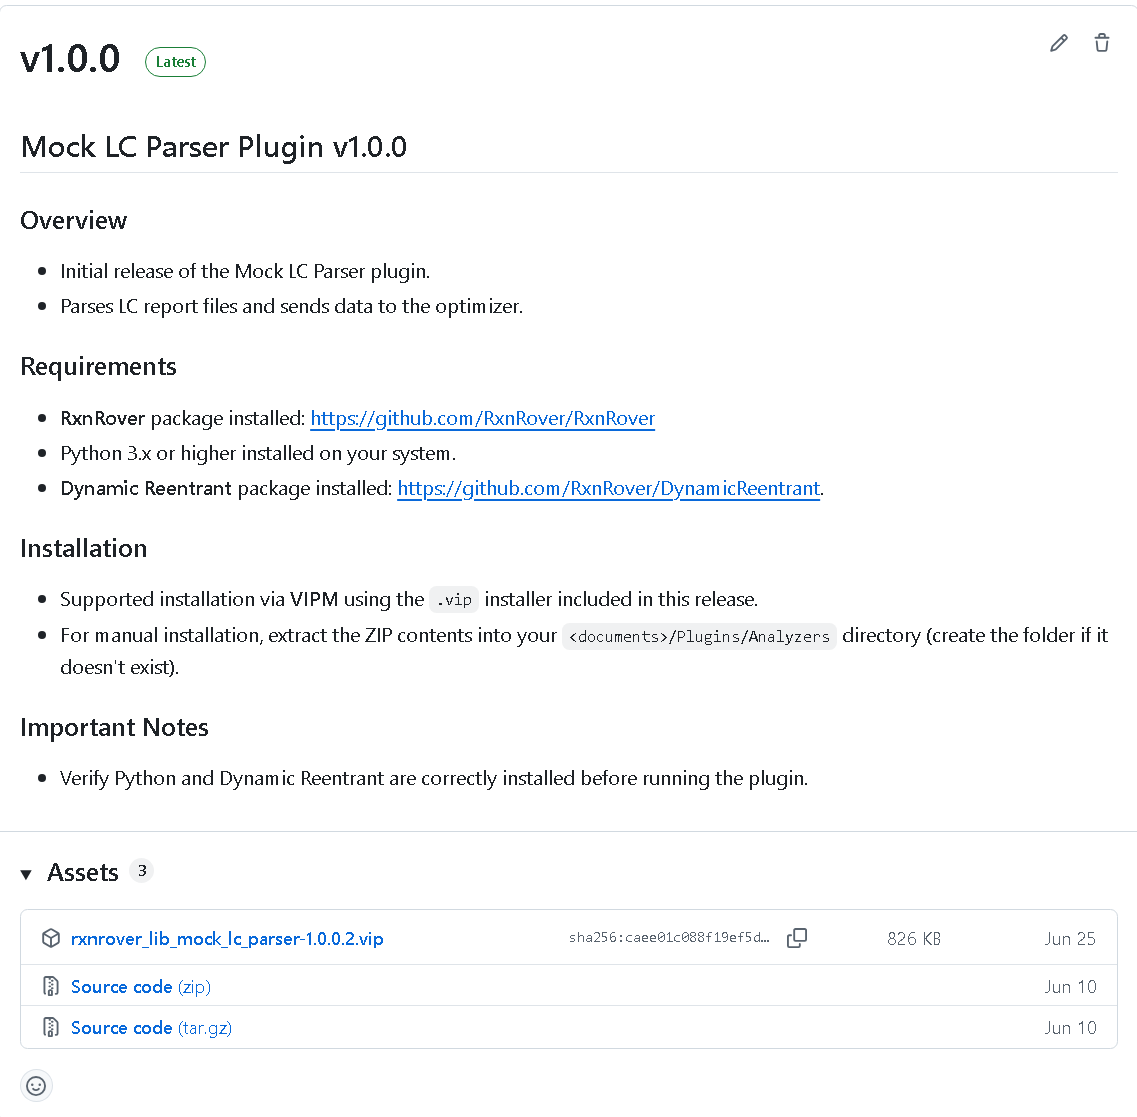
Mock LC Parser GitHub release section showing the release name, description, and downloadable assets.
Mock Pump
The mock pump plugin we will be using simulates a pump by changing flow rates
and generating pressure values when the pump is “running”. The catalog entry
for this plugin can be found under First-Party Plugins > Plugin Classes >
Reactor Components > Mock Pump. This will be downloaded similarly to the Mock
LC Analyzer above.
Mock Temperature Controller
The mock temperature controller plugin we will be using simulates a temperature
controller by changing temperature setpoint and heating to the setpoint when it
is “running”. The catalog entry for this plugin can be found under
First-Party Plugins > Plugin Classes >
Reactor Components > Mock Pump
. This
will be downloaded similarly to the Mock LC Analyzer above.
SQSnobFit Optimizer
The SQSnobFit optimizer plugin creates and connects to an instance of SQSnobFit
to perform a reaction optimization. In this mock experiment, it will only
receive random numbers from the analyzer, but it will still try its best and
provide new reaction parameters! The catalog entry for this plugin can be found
under First-Party Plugins > Plugin Classes > Optimization and Control > Mock
Pump. Download this plugin similarly to the other plugins above.
Installing Plugins
Note
Plugin installation for this tutorial is fairly straightforward, but when installing other plugins please remember to read the installation instructions provided by the authors carefully!
To install the plugins acquired in Downloading the Plugins, double click the .vip files you download, or open them in VIPM (VI Package Manager)
and follow the instructions to install them. If you do not have VIPM, you can manually install the plugins by
extracting each ZIP file into the <documents>/RxnRover/Plugins directory,
where <documents> is the current user’s Documents directory.
(My Plugin Directories are Missing!)
Creating the Mock Experiment
Run Rxn Rover and you will be presented with the Experiment Manager window. Notice all of the different forms for the name styles in the “Recent Experiments”. An Experiment can be named in using any convention, but cannot contain symbols that are not allowed in a file name.
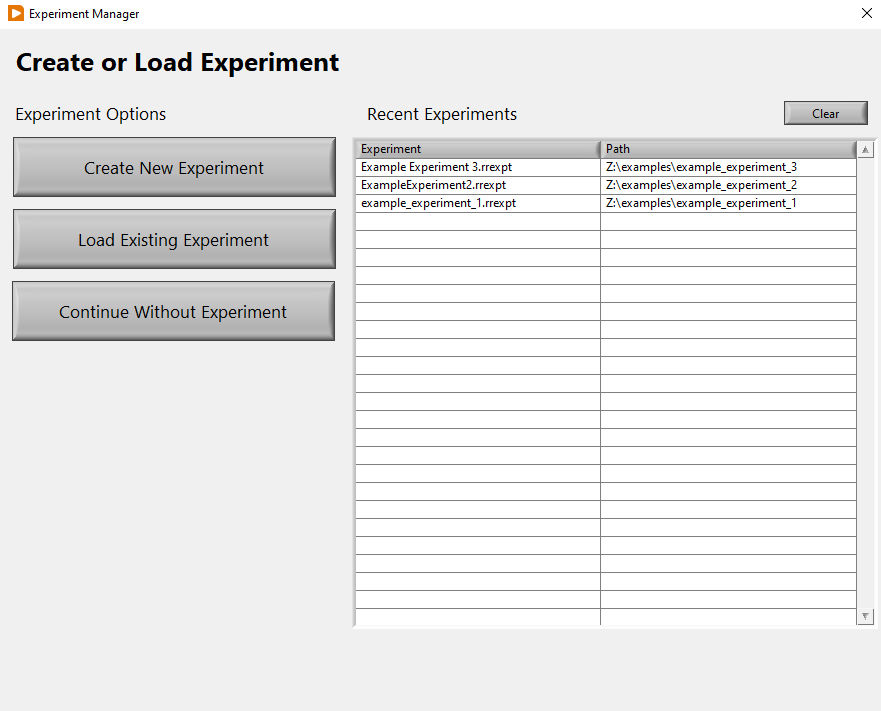
Experiment Manager window with example recent experiments.
Click the Create New Experiment button and fill in the information like in the image below. Choose an Experiment Location that will be easy to find in a file explorer, like a directory on your Desktop or in your Documents. Press OK when you are finished.
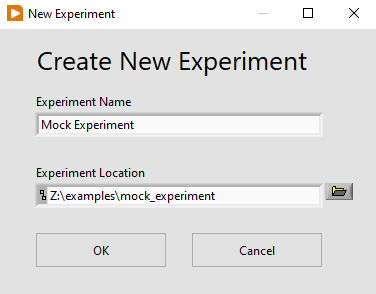
Create New Experiment dialog with information for this mock experiment filled in.
You should now be presented with a blank Rxn Rover window indicating your new experiment name, location, and save status in the title bar. This is the main window for Rxn Rover and almost all actions are taken from here.
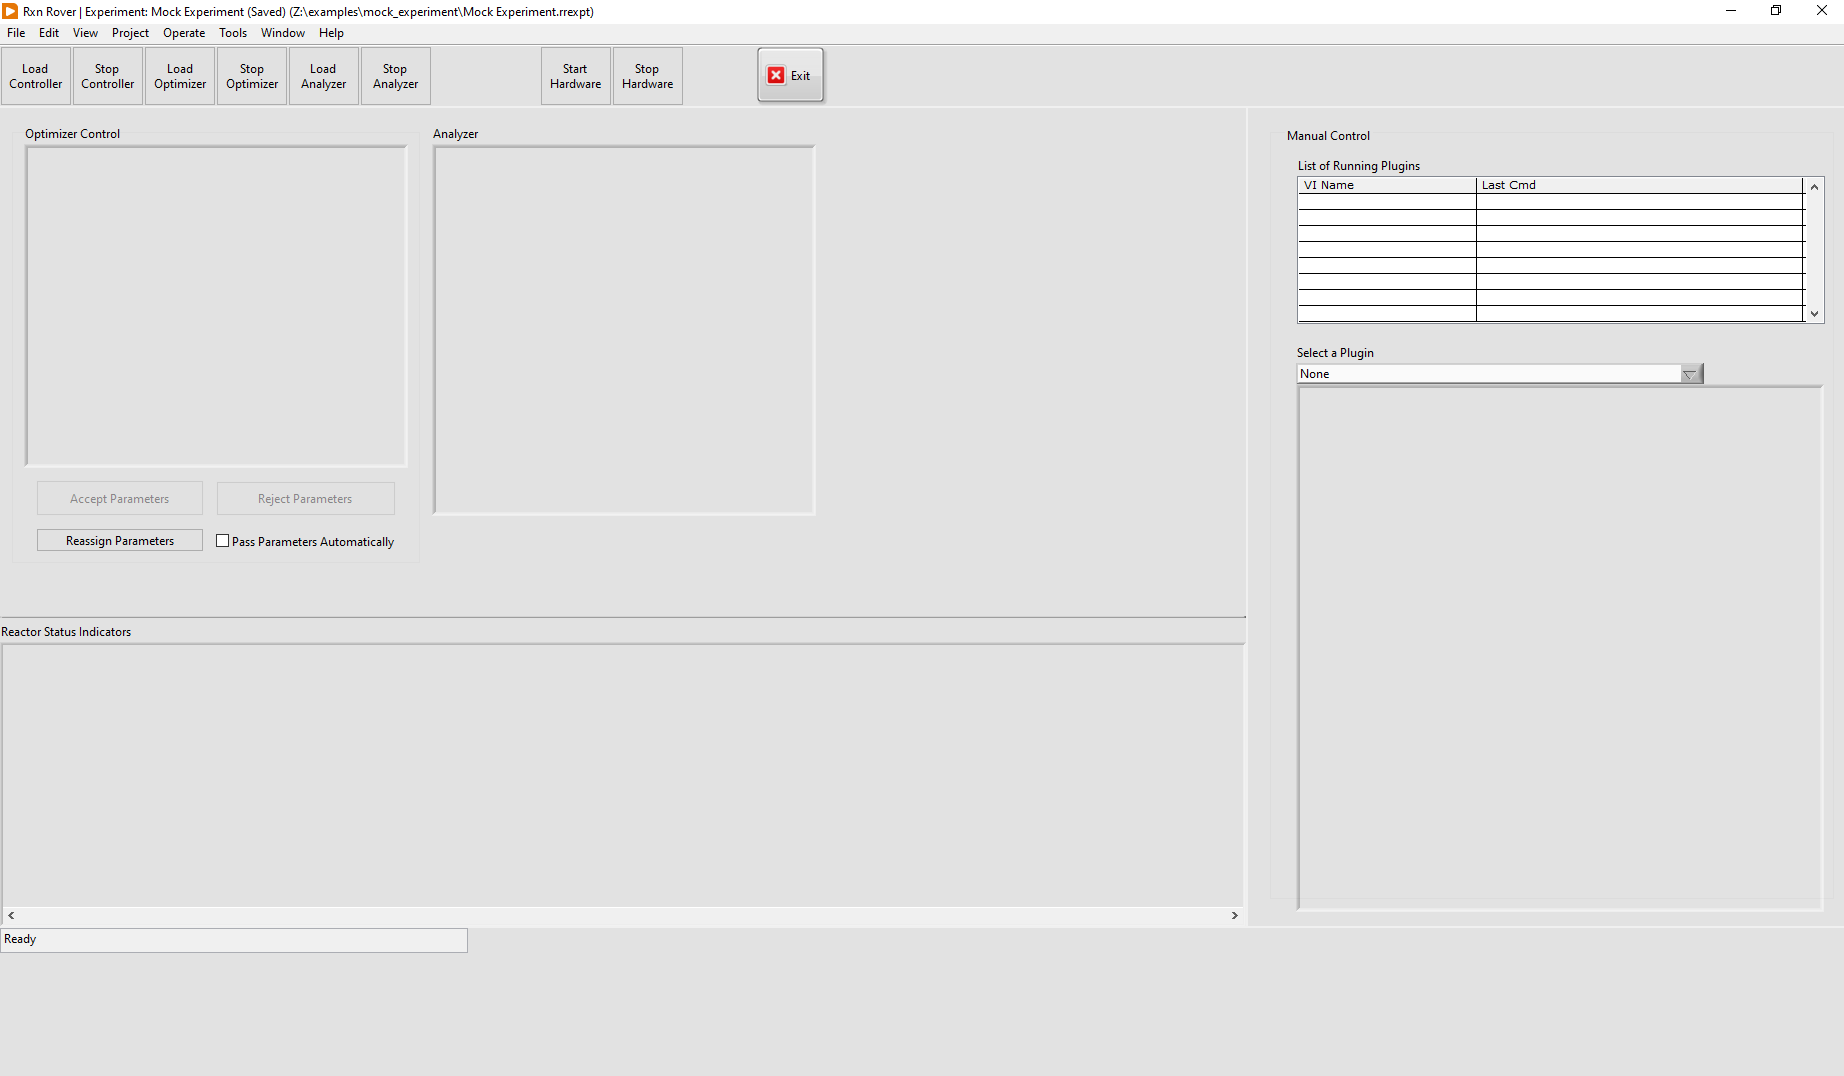
Create New Experiment dialog with information for this mock experiment filled in.
Note
For more information on the Experiment Manager and its usage, see Using the Experiment Manager.
Loading the Plugins
Reactor Components
First, we will load some Reactor Components. To do this, click the Load Controller button in the top left. Enter information to match the image below.
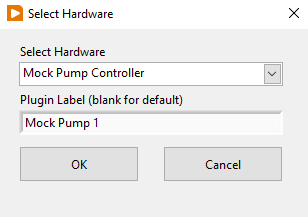
Select Hardware window used to load and name Reactor Component plugin instances.
Press OK and the plugin will start loading. The plugin will open a dialog window to connect the plugin to a hardware resource. Although no instruments are connected, your computer should still have a COM port to select. Select this in the VISA Resource dropdown list now and Connect. (Additional information: What is VISA?)
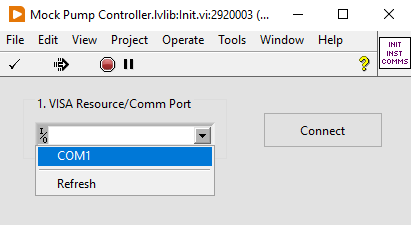
VISA Resource selection window used to connect to physical hardware through a COM port.
Note
The mock reactor component plugins used here simulate hardware that connects through serial COM ports, although other connections like Ethernet are possible. USB connections will commonly appear as “virtual” COM ports as well, so these mock plugins represent many hardware possibilities. When downloading a plugin, consult the plugin author’s instructions and hardware user manual to connect the hardware to your computer properly.
Load two more mock pumps named “Mock Pump 2” and “Mock Pump 3” using the same mock pump plugin selection. Selecting the same plugin creates a new instance of the plugin, so you do not need to worry about the plugins affecting one another. These new mock pumps can use the same VISA resource since we are using a mock plugin, although that should be avoided with real plugins.
Load one mock temperature controller in the same manner as the mock pumps. The main Rxn Rover window should now look like the image below. Notice that you can switch between the full control panels of each plugin in the “Manual Control” section on the right.
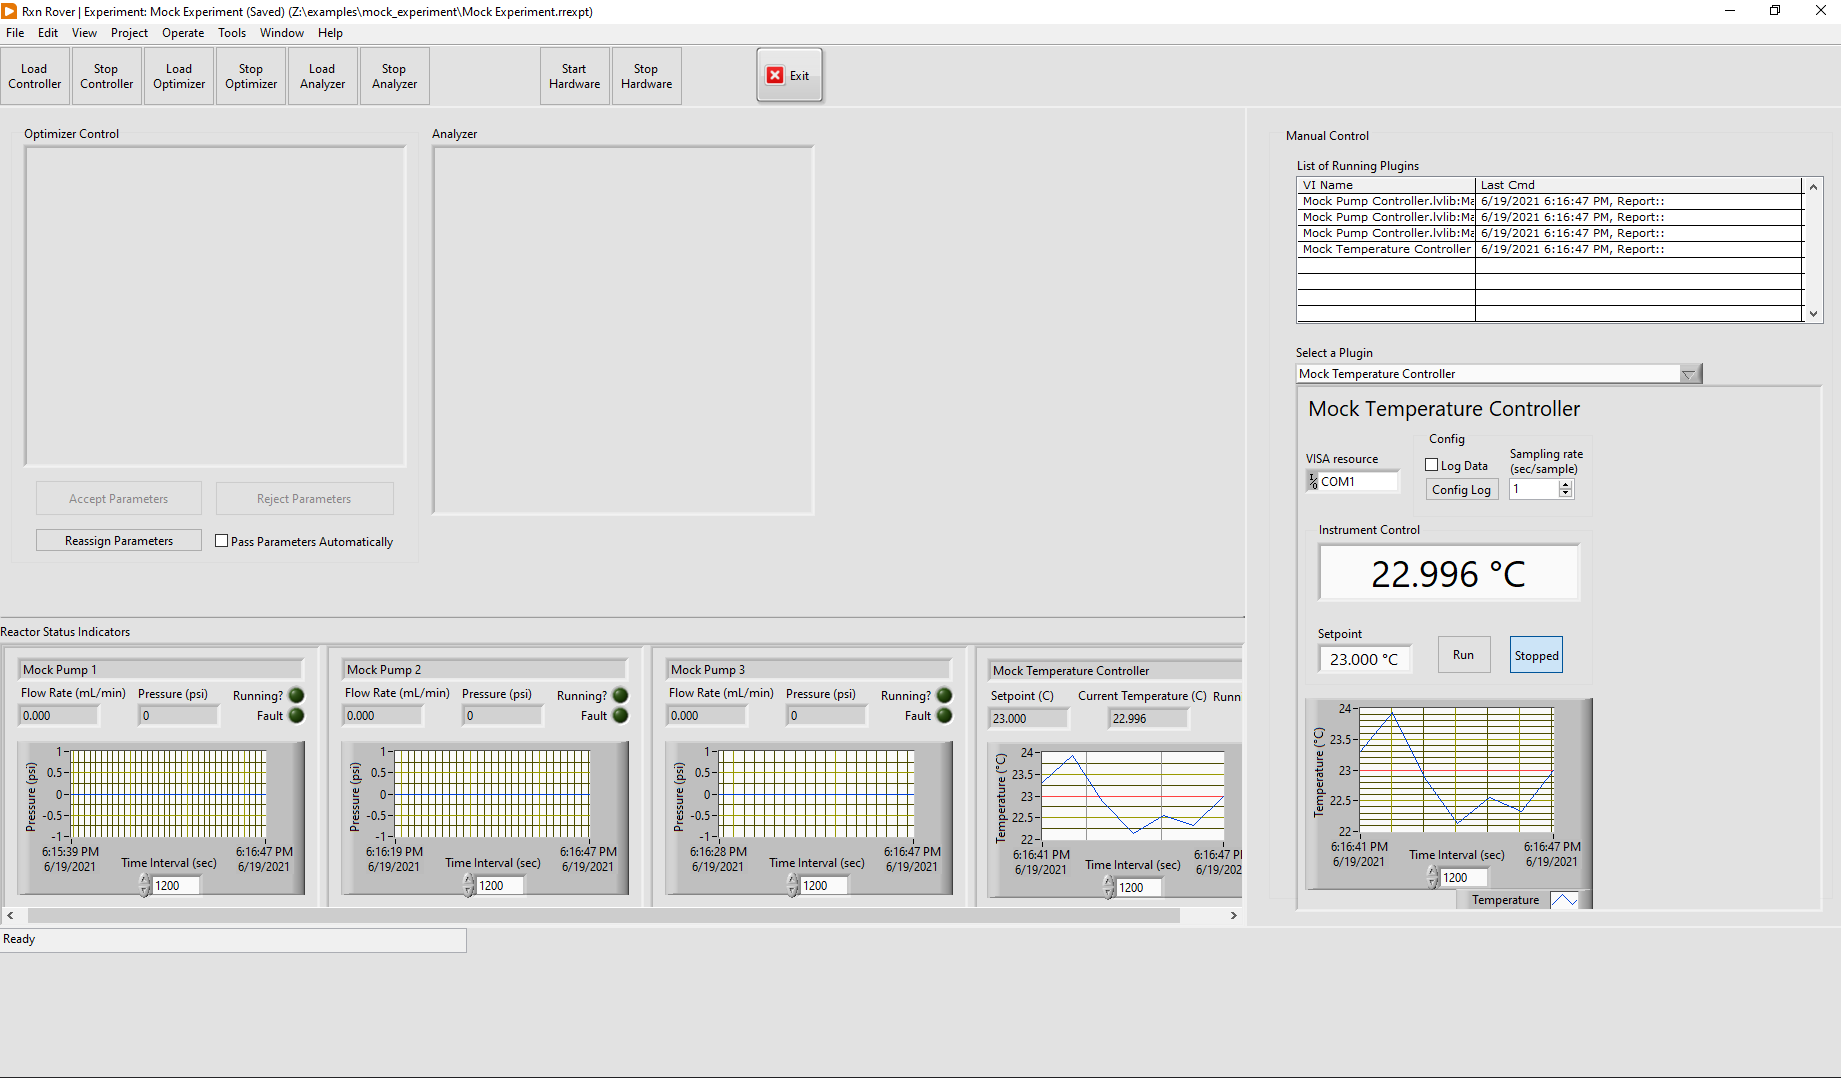
Main Rxn Rover window with reactor components loaded and the Manual Control plugin list expanded.
Optimizer
Press the Load Optimizer button to open the “Select Optimizer” window. Select “SQSnobFit” from the list and press OK. It does not matter if you name the optimizer, as this name is not visible anywhere currently.
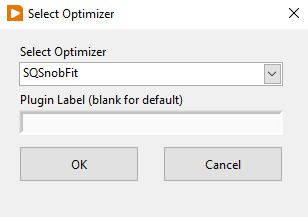
Select Optimizer window used to load and name an Optimizer plugin.
Instead of a VISA Resource, this optimizer plugin requires a script that tells
it how to start SQSnobFit. Browse to <documents>/RxnRover/Plugins/SQSnobFit/
sqsnobfit_remote_optimizer/scripts/ and select start_inference.bat
(Windows) or start_inference.sh (Linux or Mac). When Connect is pressed,
a terminal should open that is running the optimization algorithm. Minimize
this terminal, but do not close it! If you accidentally close it, press Stop Optimizer and restart this section.
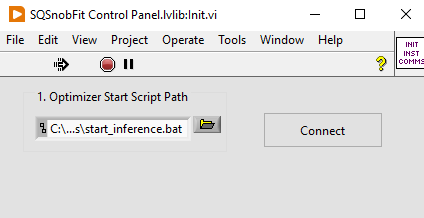
Optimizer Start Script selection window used to select a script to run the SQSnobFit optimization algorithm.

Snippet of a command prompt window running the SQSnobFit script.
The Optimizer Control section of the Rxn Rover main window should now have the SQSnobFit plugin loaded in it. Specify the overall flow rate as 0.6 mL/min and click outside the text box for the change to take affect.
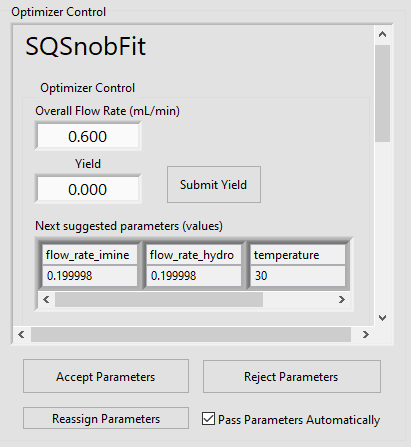
Main Rxn Rover window optimizer control with SQSnobFit loaded.
Assigning Parameters
A window to assign parameters to reactor components will either open automatically when an optimizer is loaded, or by pressing the Reassign Parameters button in the “Optimizer Control” section. Plugins are assigned to parameters by dragging the plugin names from the “Unclassified” section to the desired parameter. Assign the mock reactor component plugins to the optimizer plugins as shown below.
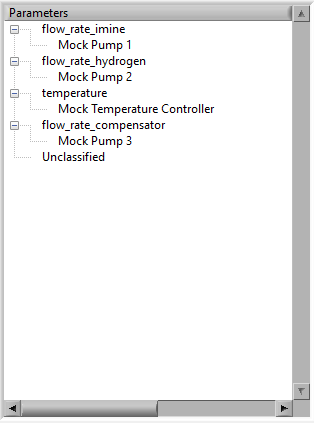
Parameter assignment window with the mock plugins assigned to their corresponding optimization parameters.
Once you have assigned the parameters, press Accept Parameters to manually forward the initial parameters from the optimizer to the reactor components and press Start Hardware so the components turn on (start pumping and heating). Afterward, check the Pass Parameters Automatically box. Once the analyzer is loaded and passing reaction results to the optimizer, the optimizer will explore the space automatically.
Analyzer
Press the Load Analyzer button to open the “Select Analyzer” window. Select “Mock LC Parser” from the list and press OK. It does not matter if you name the analyzer, as this name is not visible anywhere currently.
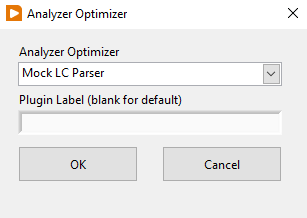
Select Analyzer window used to load and name an Analyzer plugin.
This plugin parses report files from an LC system, reading the concentration of the analyte. Create a directory called “reports” in your Experiment Location directory, created at the beginning of this tutorial and select it as the “Report Directory” when prompted by the plugin, similar to selecting a VISA resource in the mock reactor components or selecting a plugin for the optimizer. This “reports” directory could also be placed on your Desktop or in the Downloads folder, but by creating it in the Experiment Location, all relevant data files for a given experiment are in the same place. This makes referencing the data later easier.
When Connect is pressed, a terminal will open, running the report file generation script, which generates mock LC report files with random data every two seconds. Minimize this terminal, but do not close it! If you accidentally close it, press Stop Analyzer and restart this section.
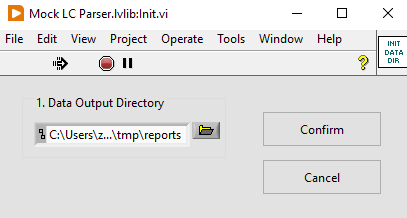
Analyzer report directory selection window used to select a directory where the fake report files are output to and parsed from.
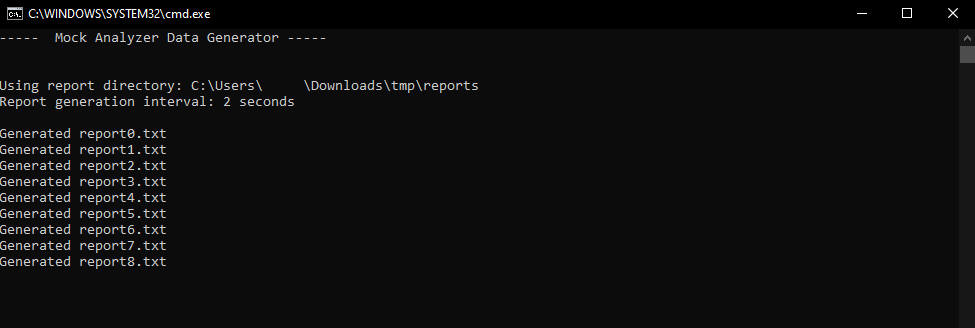
Snippet of a command prompt window running the report generation script.
The Analyzer section of the Rxn Rover main window should now have the Mock LC Parser plugin loaded in it. It will update when it parses each new report, averaging every three reports and sending the result to the optimizer.
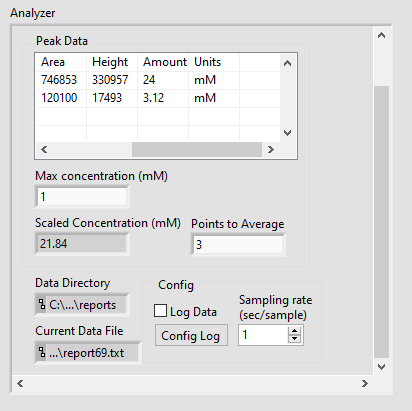
Analyzer section of Rxn Rover with the Mock LC Parser loaded.
Stopping the Optimization
With reactor components, an optimizer, and an analyzer loaded, the automated optimization should be under way! Let it run for a minute or two to gather some “data”. After that, stop the reactor components with Stop Hardware and close the Rxn Rover window. You will also need to close the two terminals that were opened when the optimizer and analyzer plugins were loaded.
Finding your Data
Once you complete an experiment with Rxn Rover, you can find data logs for each of the plugins in the Experiment directory that you set when you created the Experiment. Each reactor component should log details about the state of the component, like the VISA resource used, the flow rate, pressure values, and when it was running vs. when it was not. The optimizer log is where a summary of the optimization steps can be found, including when each step was started, the reaction conditions used, and the resulting yield (which actually appears on the line after the corresponding conditions). Since the analyzer was parsing from existing report files, no additonal log files are written.

Contents of the mock experiment directory at the end of this tutorial.